DIY Floor Polishing - Is It Worth It?
Is it Worth the Effort?
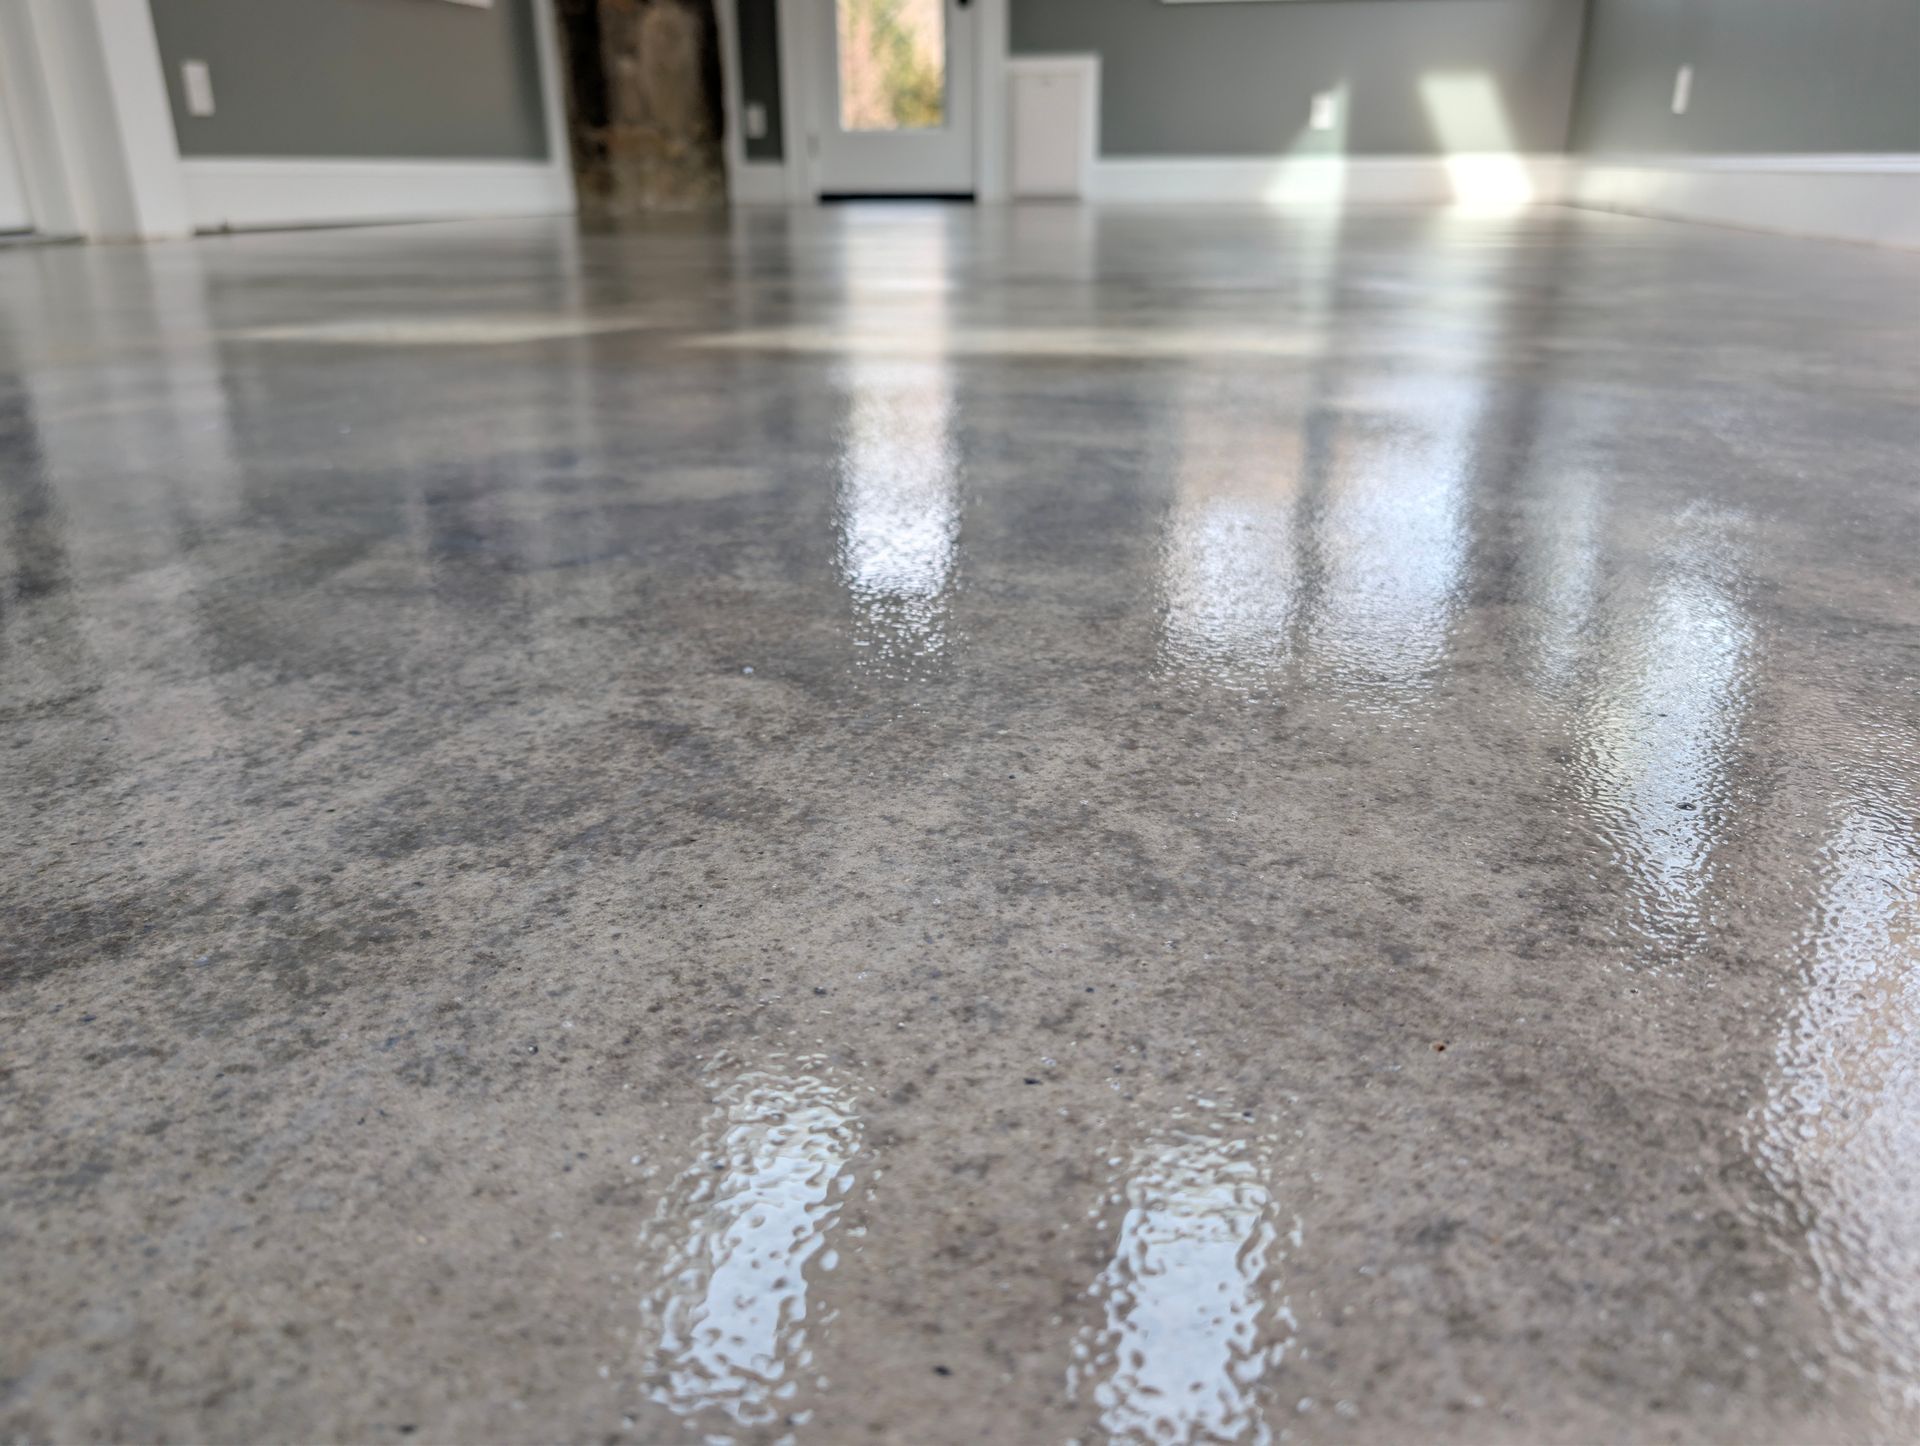
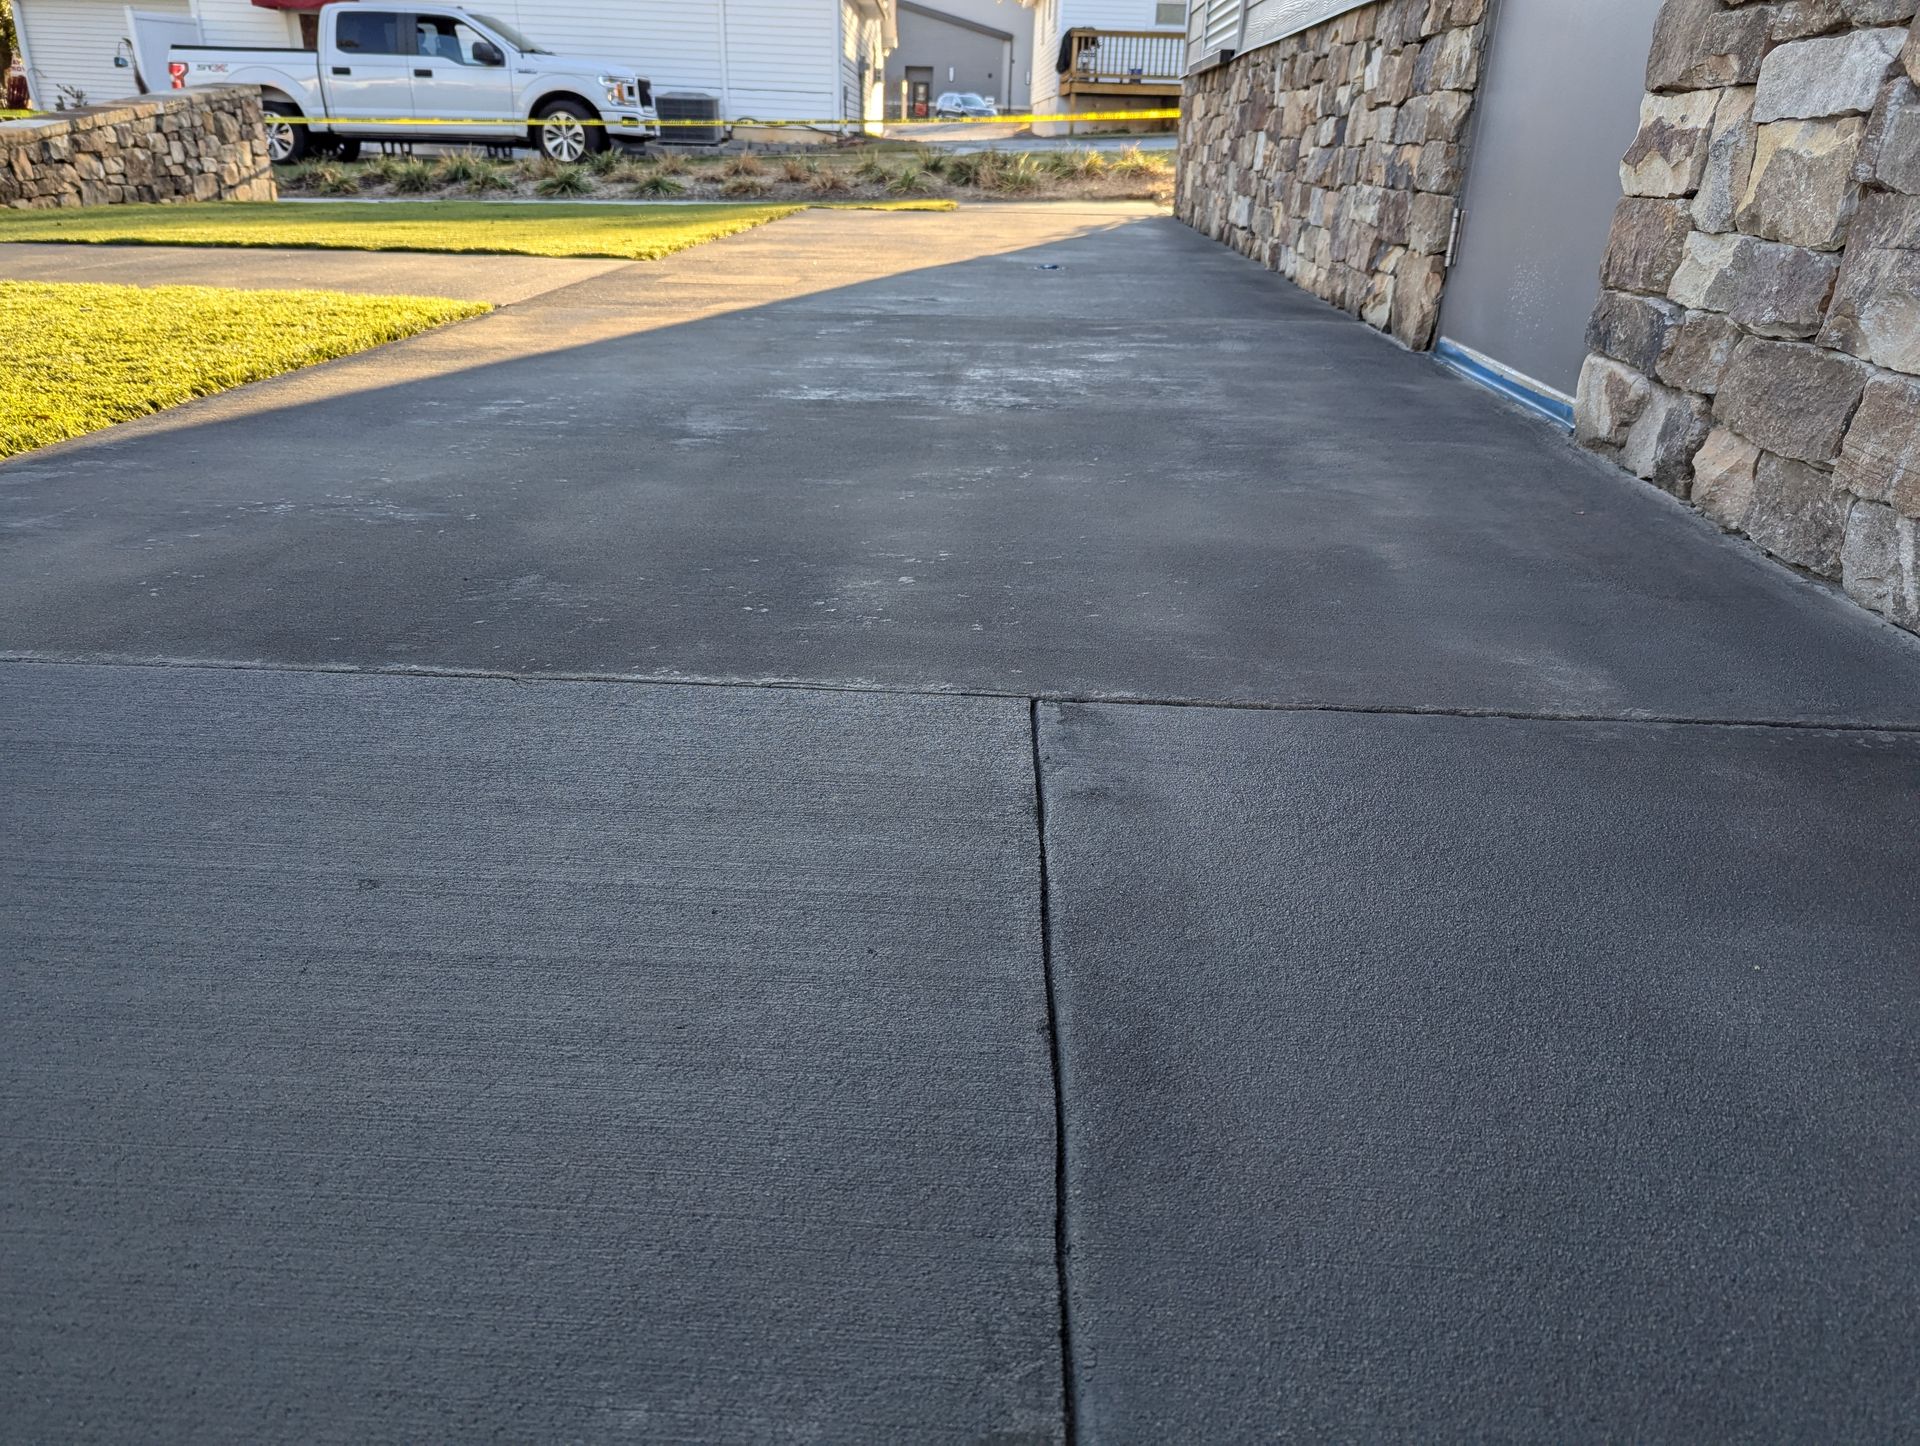
So, you’ve been staring at your concrete patio, and it’s looking a little worse for wear. Maybe it’s dull, stained, or just plain boring. You’ve seen those glossy, polished concrete floors in fancy homes and thought, “I can do that myself, right?” Well, before you grab your wallet and head to the rental store, let’s talk about what DIY concrete floor polishing really entails—and whether it’s worth the blood, sweat, and tears you’re about to invest.
Step 1: Assess the Situation
First things first, take a good, hard look at your patio. Is it in decent shape, or are there cracks, chips, and stains that need attention? If your concrete is already in rough condition, polishing alone won’t fix it. You’ll need to repair any damage before you even think about polishing. This might involve patching cracks, filling in divots, and possibly removing old coatings or sealers. Trust me, this is not the fun part, but it’s absolutely necessary if you want a smooth, polished finish.
Step 2: Gather Your Supplies
Polishing concrete isn’t something you can do with the tools you have lying around in your garage. You’re going to need some serious equipment. Here’s a list of the basics:
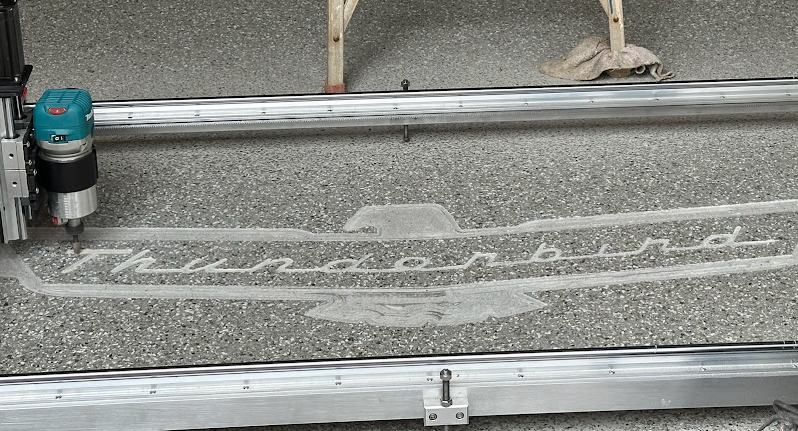
- Floor Grinder: This is the beast that’s going to do the heavy lifting. It’s a big, heavy machine, usually weighing several hundred pounds. You’ll need one with diamond polishing pads that can be switched out as you move through different levels of grit.
- Diamond Polishing Pads: These come in various grits, ranging from very coarse (around 30) to ultra-fine (up to 3,000). You’ll start with the coarser pads and work your way up to the finer ones.
- Vacuum or Dust Collector: Concrete grinding creates a ton of dust, and you’ll need something to suck it up as you go. Some grinders come with built-in dust collection systems, but you might need to rent a separate vacuum.
- Concrete Densifier: This liquid product penetrates the concrete and helps harden it, making it more durable and easier to polish.
- Sealer: Once you’ve achieved the level of polish you want, a sealer will protect your work and give the floor that shiny, finished look.
If you’re already feeling a bit overwhelmed by this list, you’re not alone. Polishing concrete isn’t a small task, and the equipment alone can be daunting. But let’s press on.
Step 3: Prep the Surface
Preparation is key when it comes to polishing concrete. Start by clearing everything off your patio. Furniture, planters, the dog’s toys—everything has to go. Next, give the surface a thorough cleaning. Use a power washer if you have one, or a stiff broom and a hose if you don’t. The goal is to remove any dirt, dust, or debris that could interfere with the polishing process.
If your patio has stains, you’ll need to treat those as well. A degreaser can help lift oil stains, while a concrete cleaner can tackle most other spots. Don’t skip this step—stains that aren’t removed will only become more apparent once the concrete is polished.
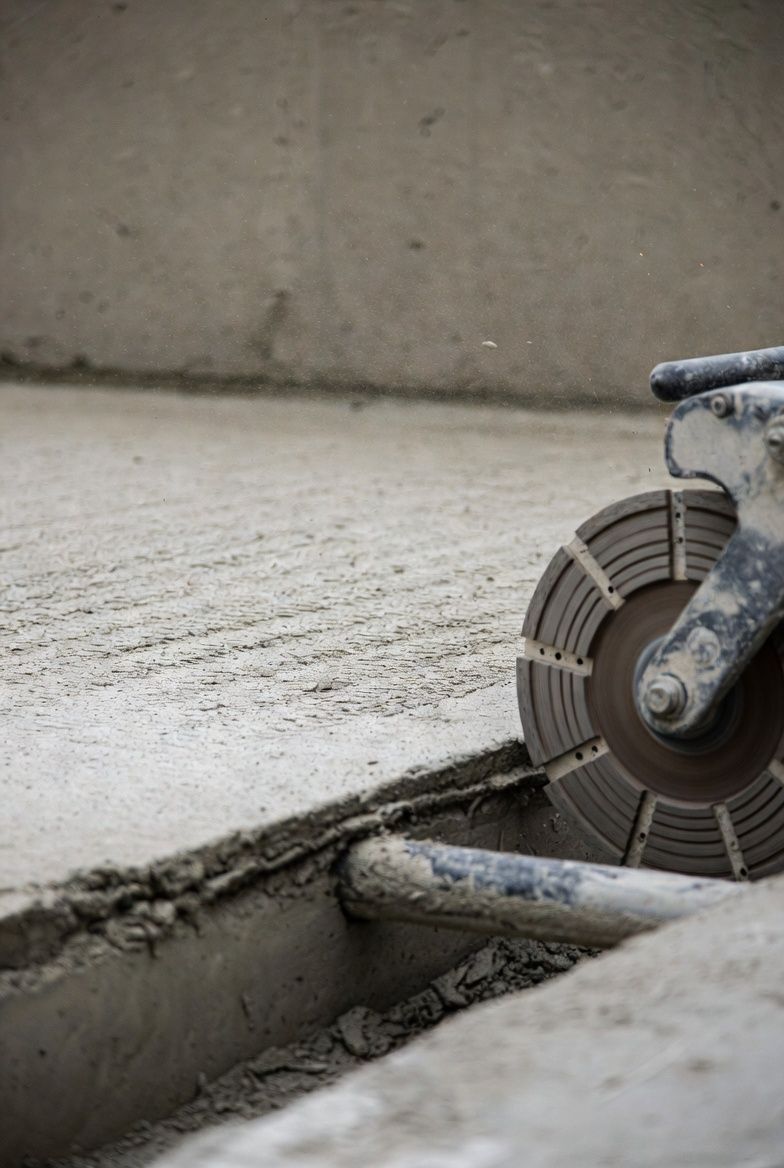
Step 4: Get Grinding
Now comes the fun part (and by fun, I mean the part where you question all your life choices). It’s time to grind the concrete. Start with the coarsest diamond pad, usually around 30 to 40 grit. Attach the pad to your grinder and fire it up.
Here’s where things get tricky. Using a floor grinder isn’t like vacuuming your living room. It’s a powerful machine, and it has a mind of its own. You’ll need to keep a firm grip and guide it slowly over the surface. Move the grinder in overlapping passes to ensure even coverage. Don’t rush this part—if you miss a spot, you’ll notice it later.
After your first pass, the concrete will look pretty rough. That’s okay—this is just the beginning. You’re essentially removing the top layer of the concrete to expose a fresh, smooth surface underneath.
Step 5: Clean Up the Dust
After each pass with the grinder, you’ll need to clean up the dust. If you’re using a dust collection system, this will be fairly straightforward. If not, you’ll be doing a lot of sweeping and vacuuming. This step is crucial because any leftover dust can interfere with the next round of grinding.
Step 6: Repeat the Grinding Process
Now, it’s time to switch to a finer grit pad and repeat the process. You’ll move from coarse to medium (around 80 to 120 grit) and then to fine (up to 400 grit or more). With each pass, the surface will become smoother and shinier. This is where you start to see the fruits of your labor, but don’t get too excited just yet—there’s still a long way to go.
Step 7: Apply the Concrete Densifier
Once you’ve reached the desired level of smoothness, it’s time to apply a concrete densifier. This product penetrates the surface and reacts with the concrete to make it harder and more durable. It also helps fill in any tiny pores, making the surface even smoother.
Applying the densifier is simple—just spray it on and let it sit for the recommended amount of time (usually about 20 to 30 minutes). Then, wipe off any excess and let the surface dry completely before moving on to the final polishing stages.
Step 8: Final Polishing
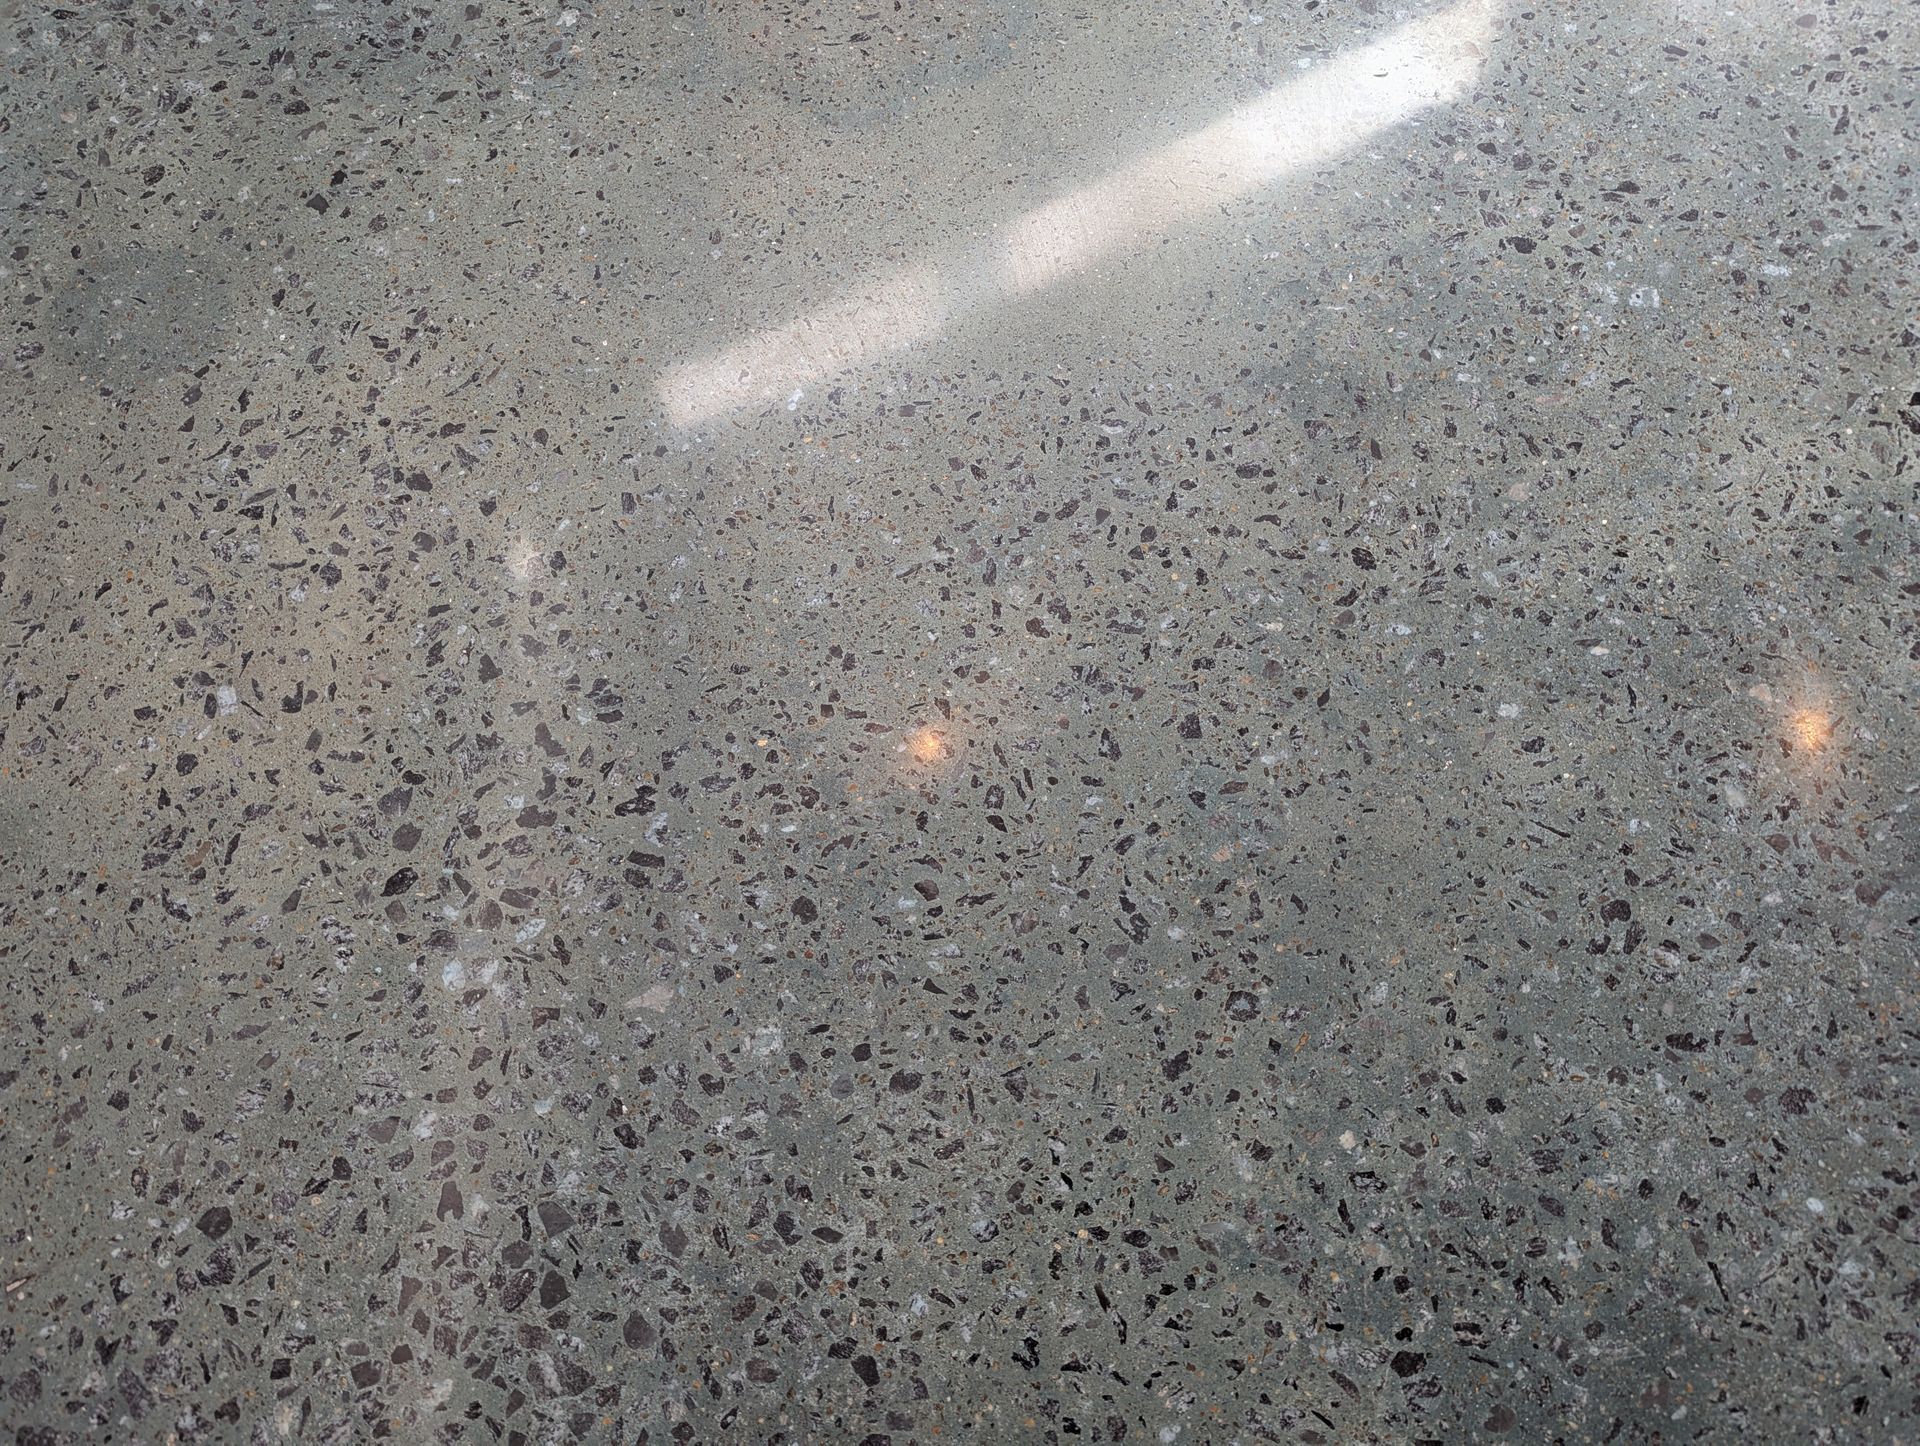
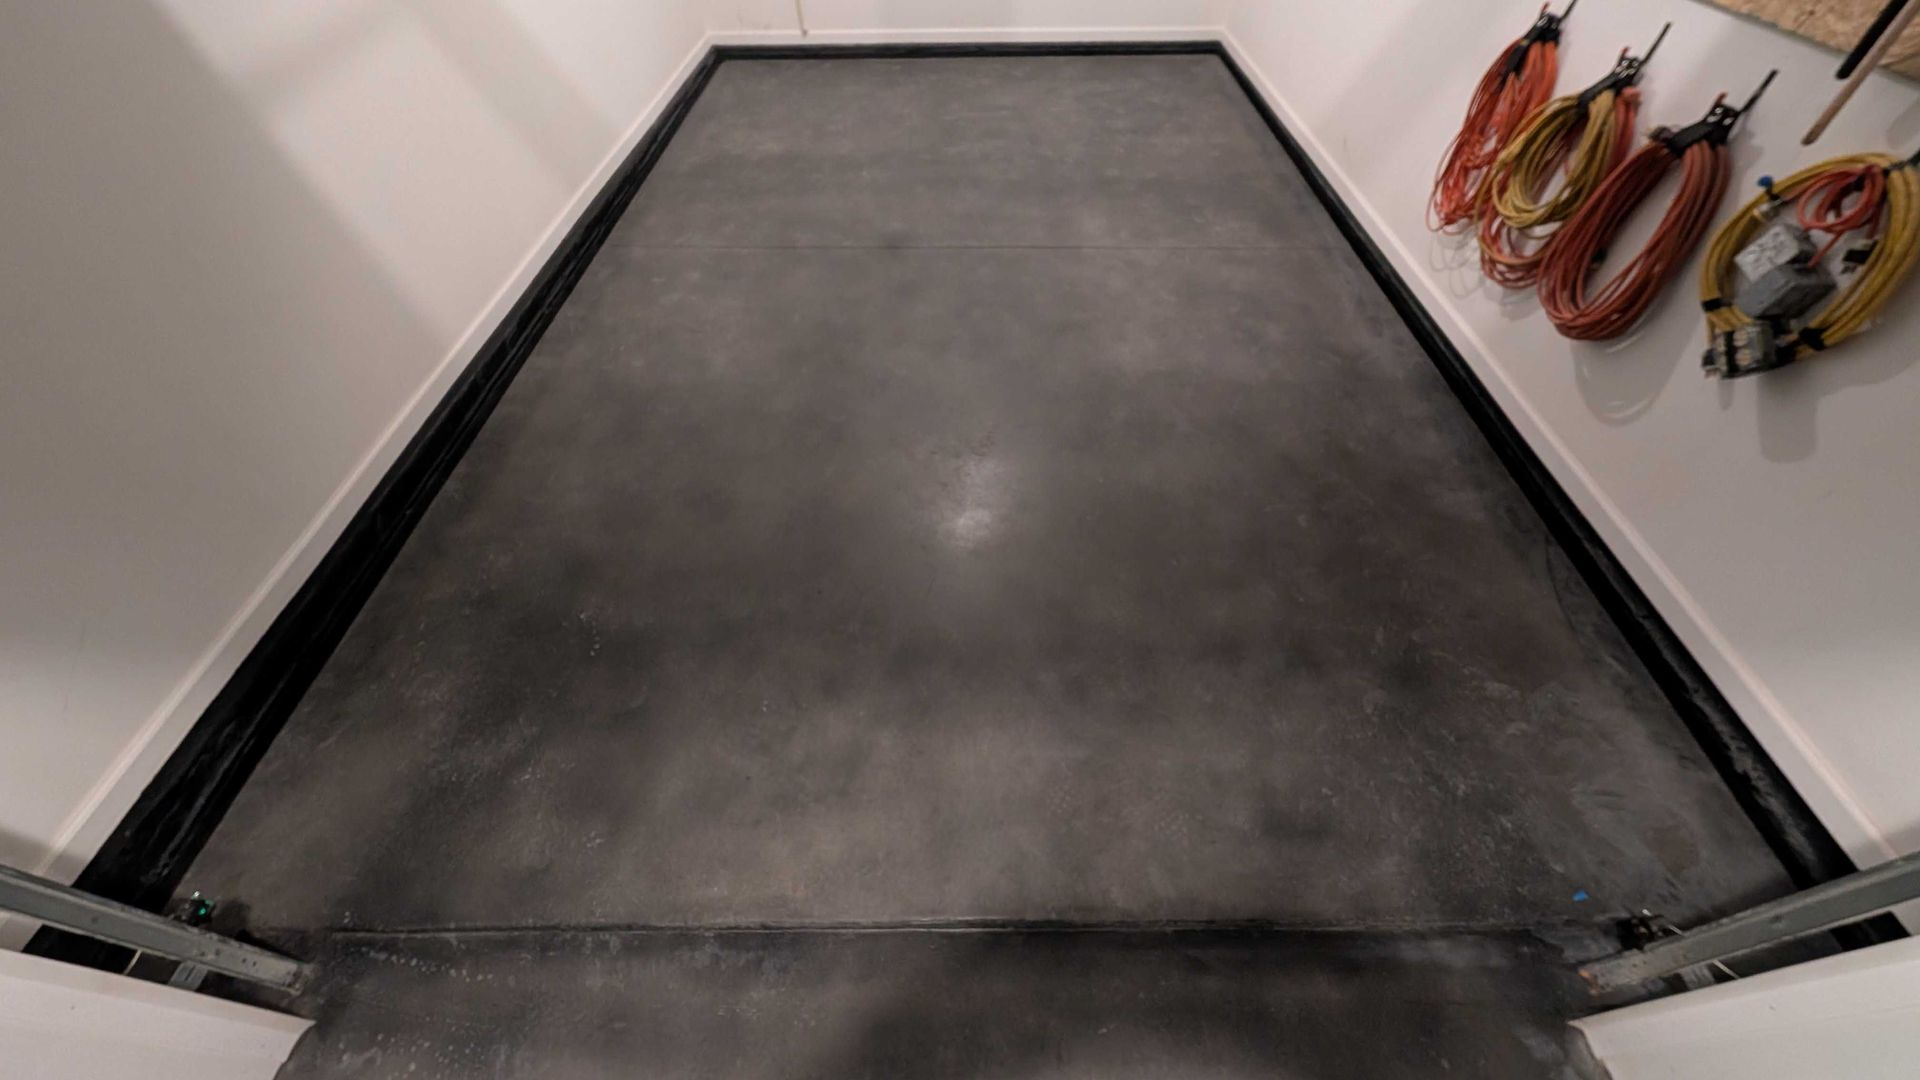
Now that the densifier has done its job, it’s time to switch to the finest polishing pads. This could be anywhere from 800 to 3,000 grit, depending on how shiny you want the finish to be. The finer the grit, the more mirror-like the finish.
This is where you really need to take your time. The final polishing stages can make or break your project. Move slowly, overlapping your passes, and make sure the surface is completely free of dust and debris.
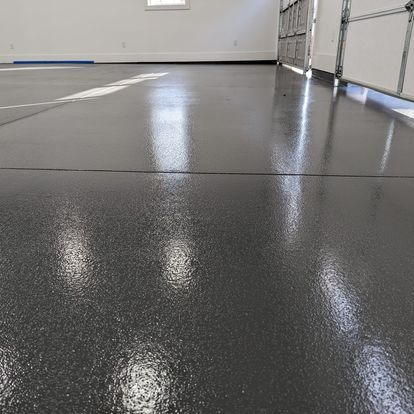
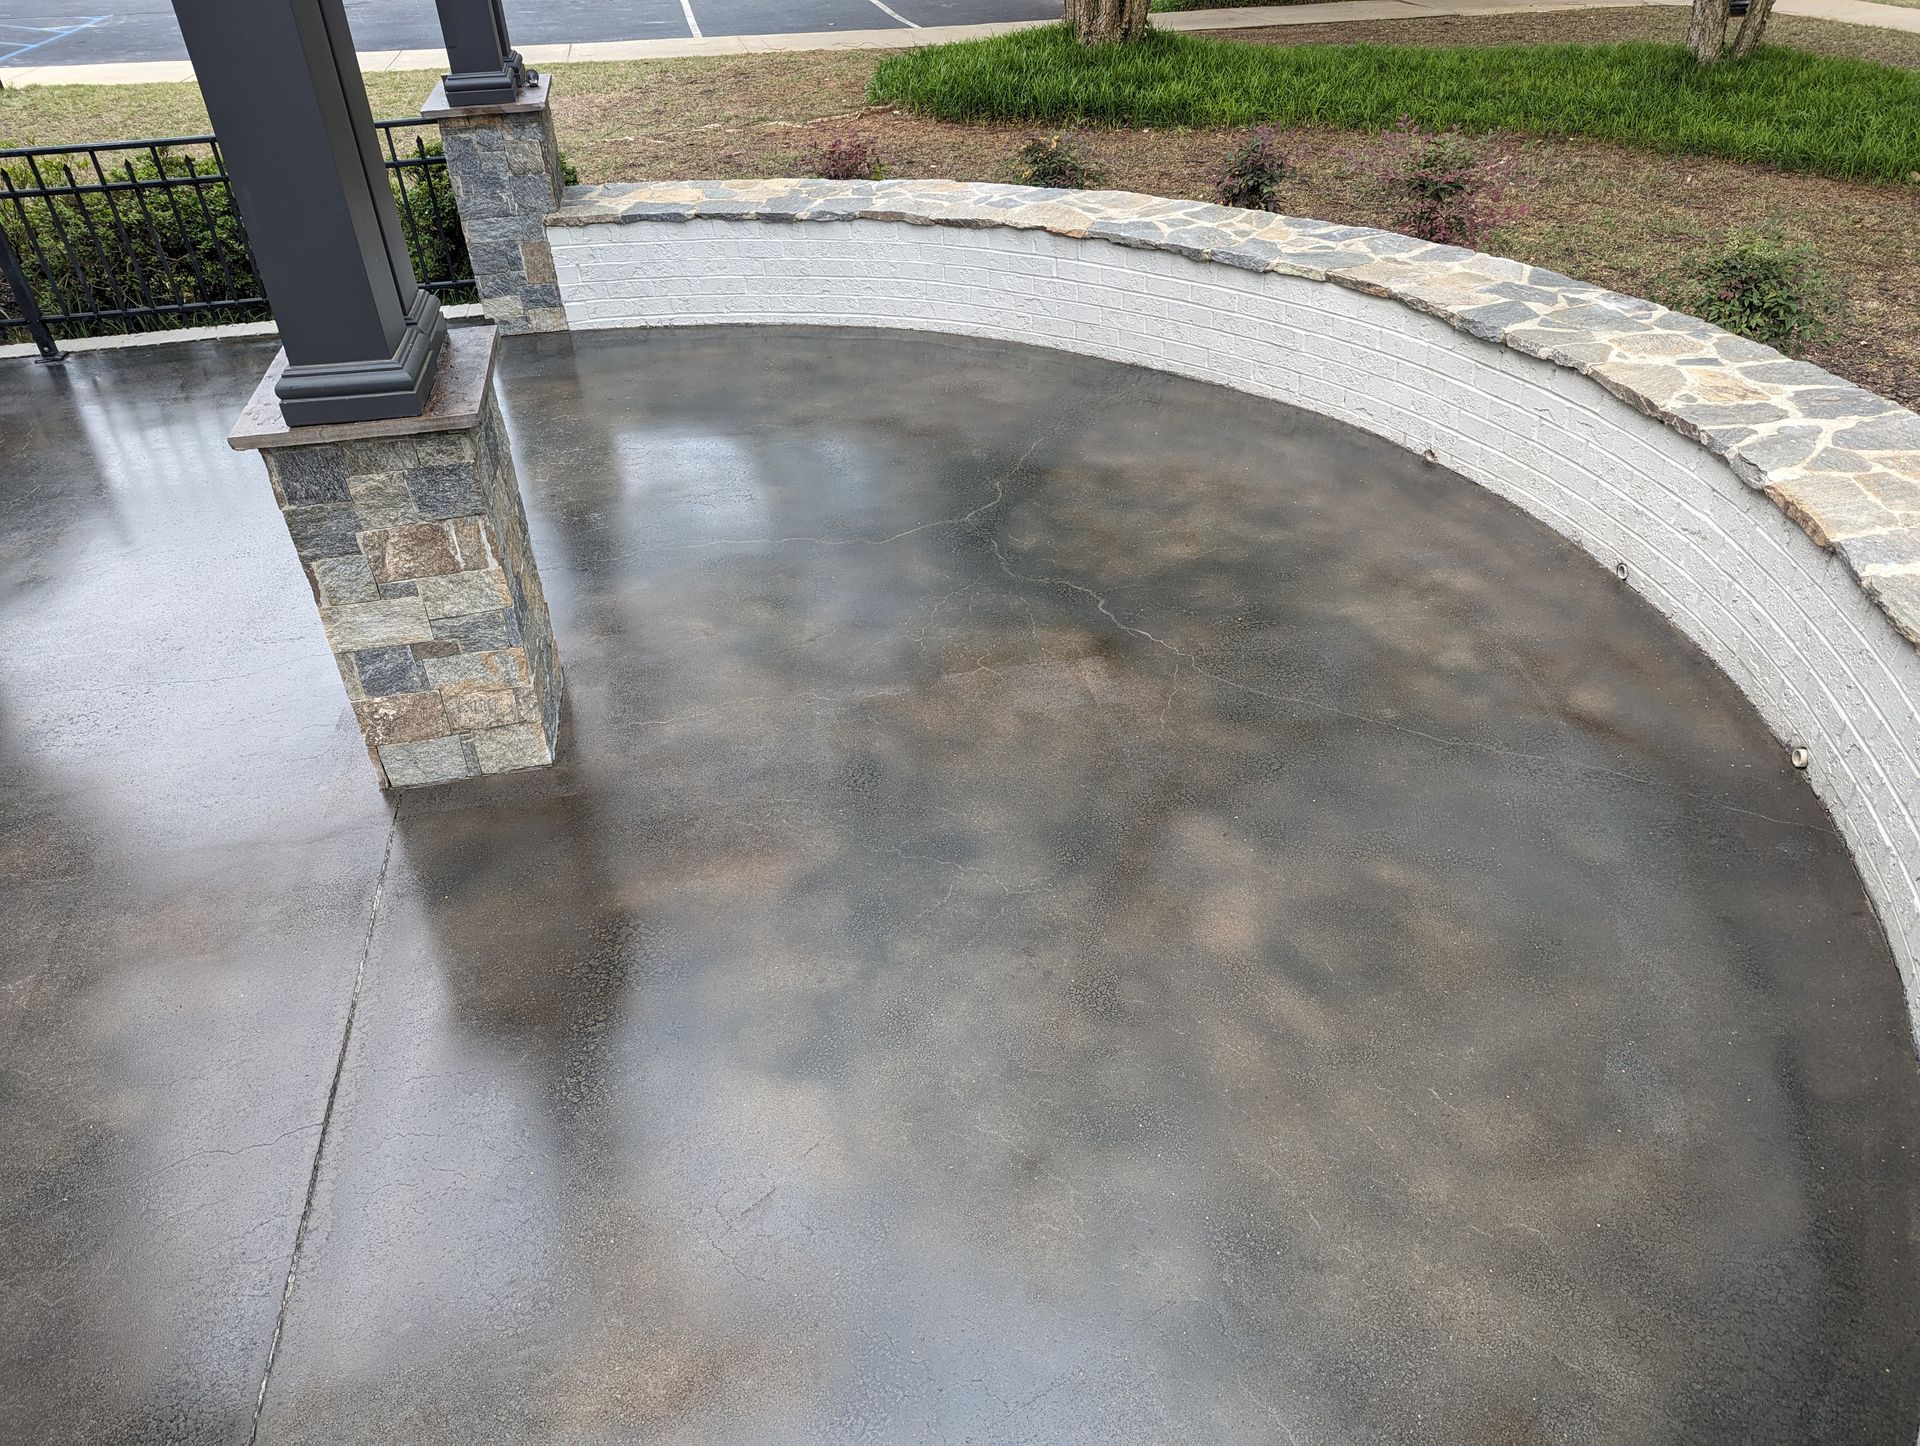
Step 9: Seal the Deal
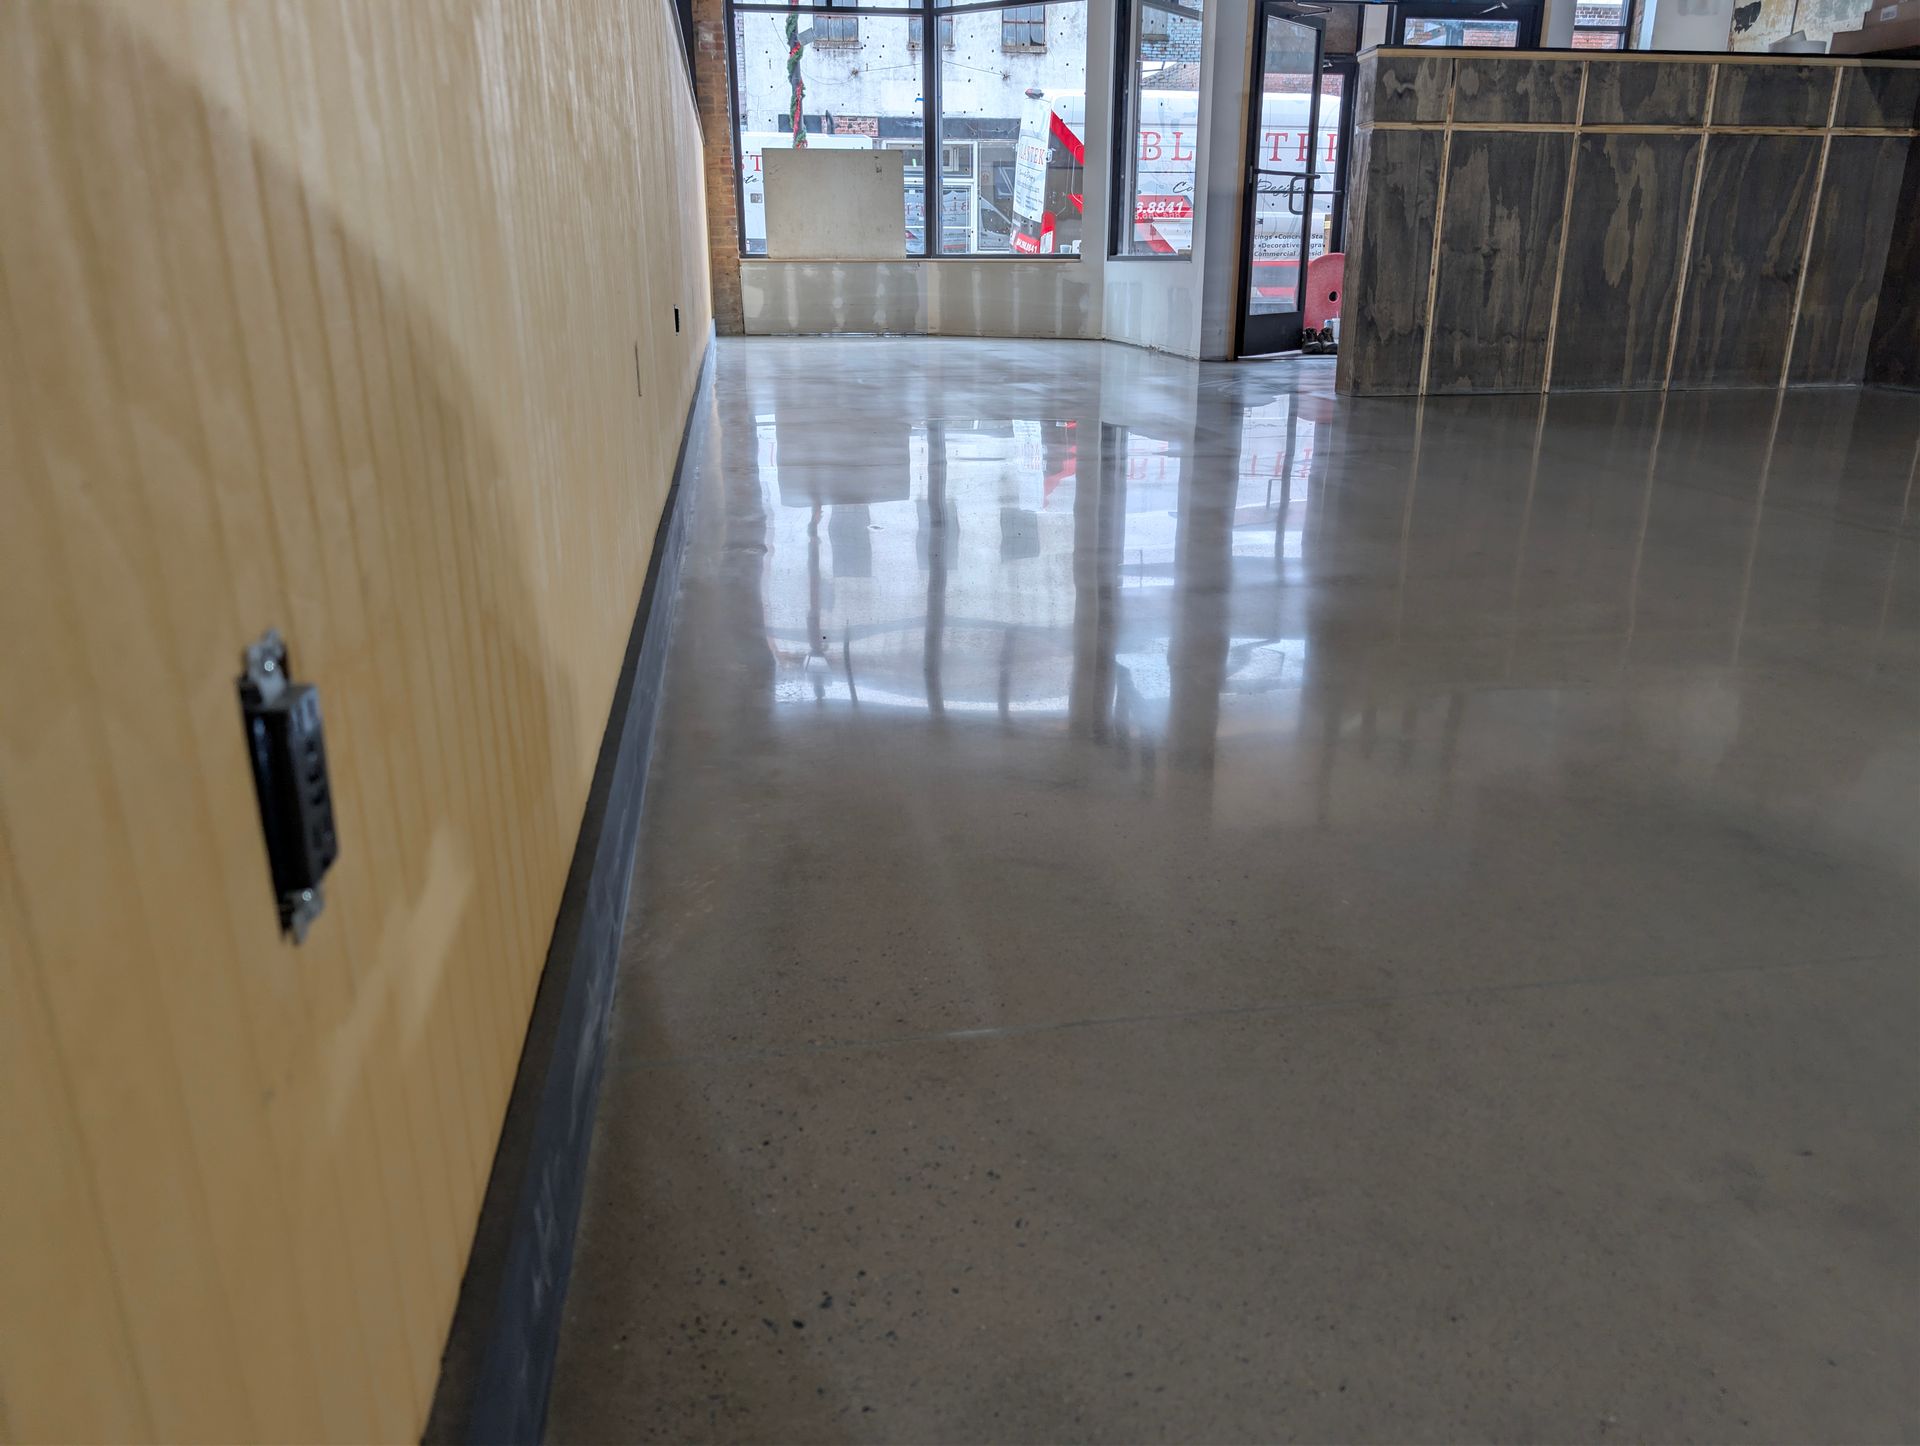
Congratulations—you’ve made it to the final step! Now it’s time to apply a concrete sealer to protect your hard work. The sealer will give the floor a glossy finish and protect it from stains, moisture, and wear. You can choose between a penetrating sealer, which soaks into the concrete, or a topical sealer, which sits on top and creates a shiny coating.
Applying the sealer is relatively easy—just follow the manufacturer’s instructions. You’ll need to let the sealer cure completely before walking on the surface, so be prepared to stay off your patio for at least 24 hours.
The Big Question: Is It Worth It?
So, after all that, is DIY concrete floor polishing really worth the effort? Let’s break it down:
- Time: Polishing a concrete floor is a time-consuming process. From prepping the surface to the final sealing, you’re looking at several days of work.
- Effort: It’s also physically demanding. Operating a floor grinder is hard work, and the constant cleaning between passes adds to the workload.
- Cost: While renting the equipment might seem cheaper than hiring a professional, don’t forget to factor in the cost of materials, the rental itself, and your own time.
- Skill: There’s definitely a learning curve involved. If you’ve never used a floor grinder before, you’re likely to make some mistakes, which could mean starting over (or living with imperfections).
For most people, the DIY route simply isn’t worth the hassle. Sure, you might save a few bucks, but at what cost? Your time, your energy, and your sanity?
Leave It to the Pros
If you want a polished concrete floor that looks professionally done—without spending your weekends sweating over a floor grinder—why not leave it to the experts? At Blastek Concrete Design in Spartanburg, SC, we have the experience, equipment, and expertise to deliver flawless results every time. We’ll handle the heavy lifting so you can sit back, relax, and enjoy your beautiful new patio.
Give us a call today, (864) 266-8841 and let’s get started on making your concrete dreams a reality—without the DIY headaches!